ComfyUI is the local image-generation tool that powers most serious workflows — the node-based interface that runs Flux and Stable Diffusion with a control and efficiency the simpler GUIs can’t match. It’s also the one that confronts a new user with a screen full of connected boxes and zero obvious instruction, which is why “I installed ComfyUI and closed it” is a common local-AI story.
This is the honest on-ramp: what you’re actually looking at, the minimum path to a generated image, where beginners get stuck, and the honest answer to whether you should start here or with a simpler tool. We use ComfyUI in the lab and wrote the optimization deep-dive for it; this is the beginner piece that sits below that.
What ComfyUI actually is
ComfyUI is a node-based image-generation interface. Instead of a single form with a prompt box and sliders (the Automatic1111 / Forge model), you build a workflow by wiring together nodes — each node does one thing (load a model, encode a prompt, run a sampler, decode to an image), and the connections between them define the pipeline.
The reason this exists rather than just a form is power and flexibility: a node graph can express pipelines a single form can’t — ControlNet conditioning, multi-model passes, IPAdapter, custom routing, image and video workflows. The cost is the learning curve. You’re trading “type a prompt, click generate” for “build and understand a pipeline.”
The mental model that makes it click: think of the node graph as a recipe. Each node is a step, the wires are the flow of ingredients between steps, and the final image is the dish. You’re not “using software,” you’re assembling a pipeline — and once you internalize that, the interface stops being hostile and starts being expressive.
The minimum viable workflow
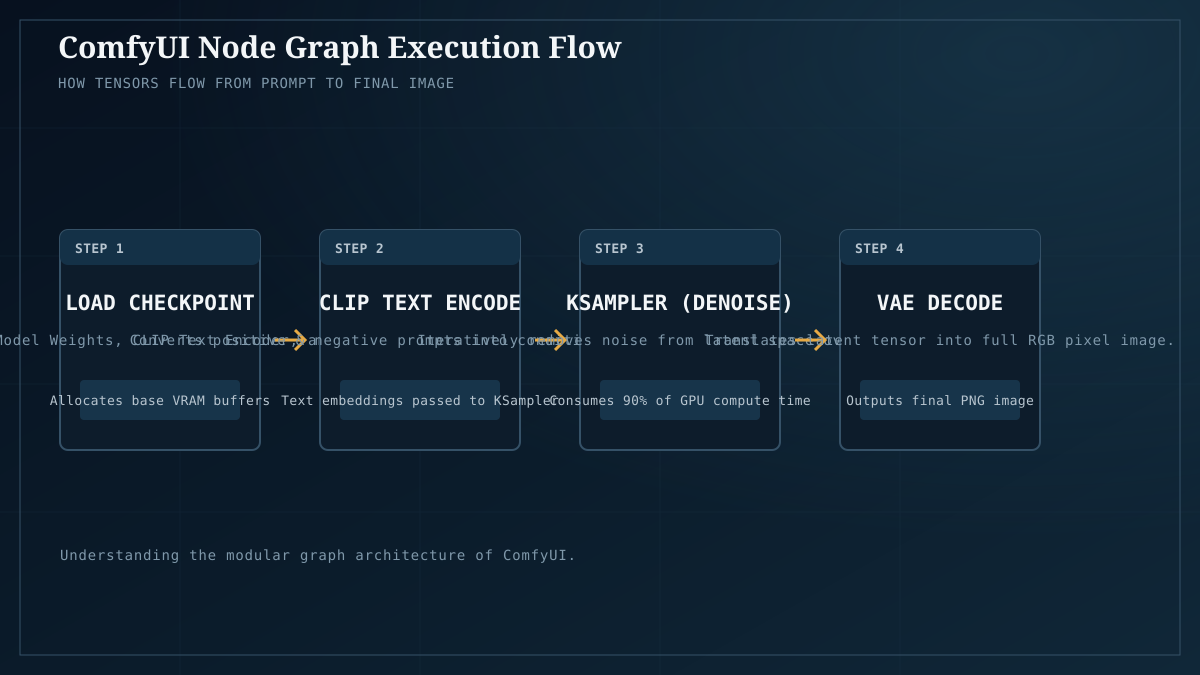
Every ComfyUI workflow, no matter how complex, is a variation on this minimum pipeline. Get this working first, before anything else:
- Load Checkpoint (node) → outputs a model.
- CLIP Text Encode (Prompt) × 2 → your positive prompt and negative prompt, encoded into conditioning.
- Empty Latent Image → defines the starting canvas (width, height, batch size).
- KSampler → the heart. Takes the model, the conditioning, the latent, and produces a denoised latent. This is where the actual generation happens.
- VAE Decode → converts the denoised latent into a visible image.
- Save Image → writes the output.
Wire those six nodes together in that order, type a prompt, and you get an image. That’s the floor. Every advanced workflow — ControlNet, LoRAs, multi-pass, img2img — is an extension or replacement of nodes in this skeleton. If you understand this pipeline, you understand ComfyUI; everything else is vocabulary.
When you first open ComfyUI on a freshly-installed model, load the default workflow (there’s usually a “Load Default” option) and you’ll see exactly this skeleton pre-built. Run it, confirm you get an image, and then start experimenting. Don’t try to build a ControlNet workflow before you’ve generated one image from the default.
Where beginners get stuck (and the fix)
- “There’s no model loaded” / red nodes. Every red node is a configuration error. The most common: the Load Checkpoint node has no model selected because you haven’t put a model where ComfyUI expects it, or you haven’t chosen one from the dropdown. Fix: put your model file (the
.safetensorsor.gguf) in ComfyUI’smodels/checkpoints/(ormodels/unet/for Flux-style models) directory, restart, and select it in the node. Our Flux setup piece covers model placement. - Out of memory on first run. ComfyUI will fail with a VRAM error if the model plus the workflow exceeds your card. The fixes are in our optimization guide: use a lower VRAM model (a Q4_GGUF quant), enable low-vram mode, reduce resolution. The honest summary: check the VRAM tier — ComfyUI doesn’t escape the VRAM budget, it just lets you tune how you spend it.
- “I don’t know what any node does.” This is the real barrier and it’s legitimate. Fix: hover over a node for its description, read the optimization piece for the important ones, and — most importantly — start from a working default workflow and change one node at a time, observing what breaks. Reverse-engineering beats reading docs.
- Copying a workflow and getting errors. A common pattern: download a cool workflow someone shared, load it, get a wall of red. This is usually missing custom nodes (the workflow uses a node your install doesn’t have) or missing models (a ControlNet, a LoRA, a specific checkpoint). Fix: install ComfyUI Manager (the de-facto package manager for custom nodes) and let it resolve missing nodes; ensure the referenced models are in the right directories.
- Overwhelm from the graph’s visual complexity. A shared advanced workflow can have 40 nodes. Fix: ignore everything that isn’t in the minimum viable pipeline above. Find the Load Checkpoint → KSampler → VAE Decode → Save Image spine, confirm that works, and treat the rest as optional embellishment you can learn incrementally.
ComfyUI vs the simpler alternatives
The honest question is whether you should start with ComfyUI at all, and it depends on your goals:
- You want maximum control, custom workflows, video, ControlNet pipelines, or you’ll invest time. → ComfyUI. It’s the most powerful option and the lingua franca of serious local image/video work. The learning curve is real and worth it if this becomes a real hobby or tool.
- You want to type prompts and get images, simply, today. → Start simpler. Automatic1111, Forge, or Fooocus give you a form-based interface (prompt box, sliders, generate) with no node graph. They’re less powerful but dramatically easier. Many people start here, hit the ceiling of what a form can express, and then move to ComfyUI with motivation.
- You want image generation as part of a local AI media pipeline. → ComfyUI. Its workflow-as-file model makes it scriptable and chainable in ways the form-based tools aren’t.
The most honest advice: if you’re new to local image generation entirely, generate your first images in a simpler tool to confirm the hardware works and you enjoy the output. Once you feel the limits of “prompt box + sliders,” that’s the moment ComfyUI’s complexity becomes worth learning — because you’ll have a concrete reason for every node you add.
Hardware for ComfyUI
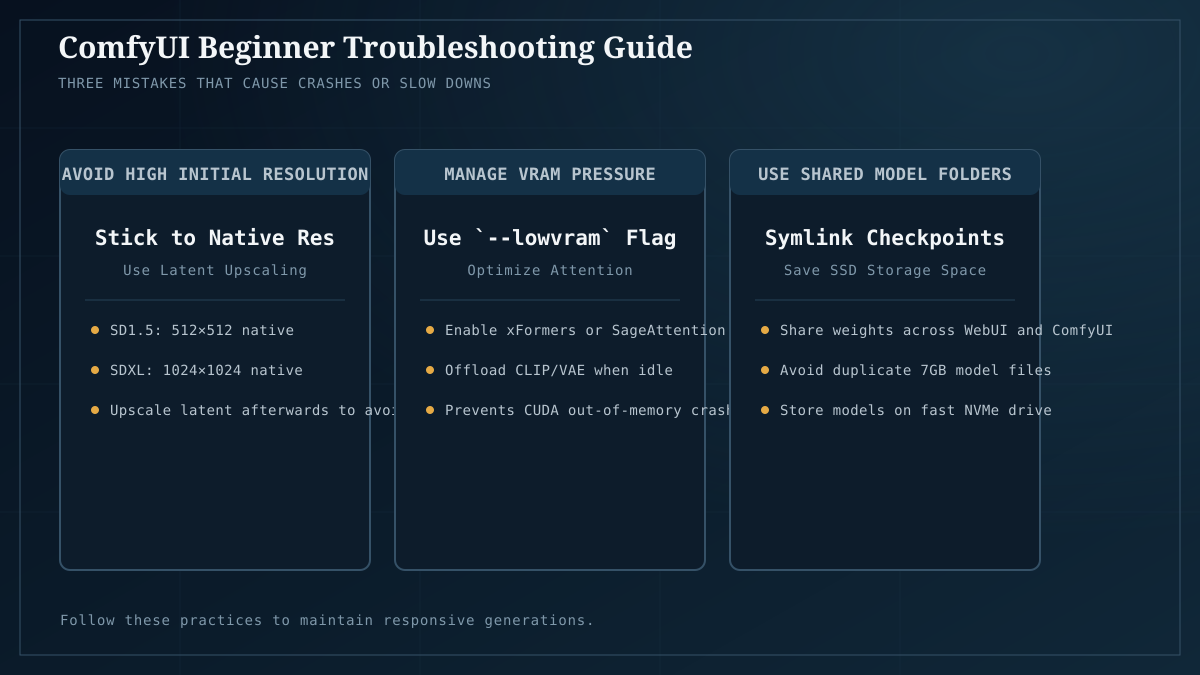
Image generation is VRAM-bound like everything else in local AI, and ComfyUI’s tuning knobs (optimization guide) let you trade speed for VRAM. The realistic tiers:
- 8GB — runs SD 1.5 and SDXL-medium comfortably; Flux needs the lower-quanted GGUFs and low-vram flags.
- 12GB — the comfortable entry tier for Flux and SDXL; the $300 starter card handles it.
- 16–24GB — the sweet spot; Flux at full precision, larger workflows, video generation becomes feasible.
- 24GB+ — multi-model workflows, serious video, batch generation.
Same VRAM framework as LLMs applies; check Model Fit for your target image/video model. The difference: image generation is bursty (one generation, then idle) rather than the sustained load of LLM serving, which affects the electricity math but not the fit math.
The takeaway
ComfyUI is the most powerful local image-generation tool and the one with the steepest learning curve — both of those facts are related, and both are why it dominates serious work. The on-ramp is to understand the minimum viable workflow (Load Checkpoint → CLIP encode → Empty Latent → KSampler → VAE Decode → Save Image), get that producing an image, and then extend one node at a time rather than drowning in a 40-node shared graph. Start simpler (Automatic1111/Forge) if you’re brand new to image generation; move to ComfyUI when you feel the form-based ceiling. Once it clicks, the node graph becomes expressive rather than hostile — and you’ll have the foundation for everything from Flux to local video generation.
Next: Running Flux and Stable Diffusion locally for the model side this guide assumes; ComfyUI optimization in 2026 for the next step once the basics work (Dynamic VRAM, GGUF quants, attention backends); the VRAM guide to confirm your card handles your target image model.